|
| Close up of Hugs (GS-11) |
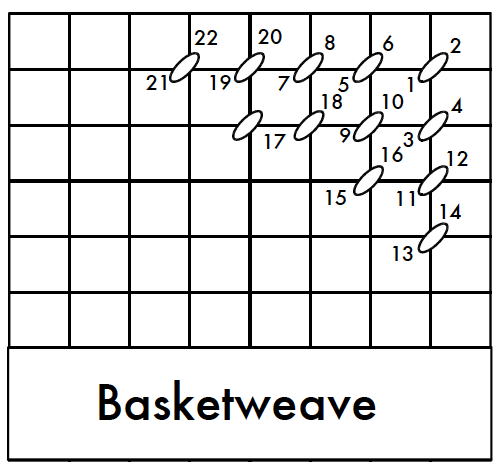
In the 1970's, I learned how to do the Basketweave stitch from reading a charted diagram. (True confessions: I began as a self-taught stitcher.) I understood it had a diagonal pathway. Only recently did I realize there was more to that stitch... much more to learn... to do it correctly.
 |
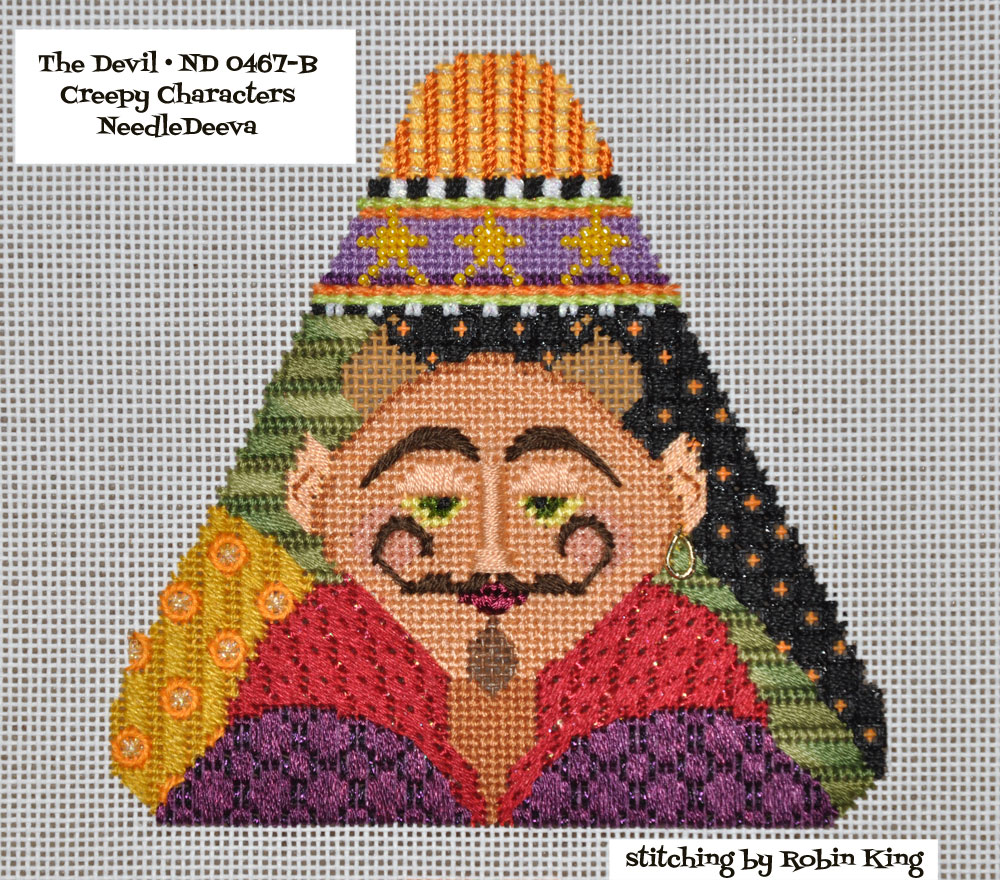
| ND 465-A Stitch Guide by Vicky De Angelis |
 |
| The Devil is still a handsome guy despite being at the beginning of Robin's learning curve. |
 |
| Walk Up the Steps |
At the same time, I remembered Amy Bunger taught a 2-hour class about Basketweave at TNNA. Imagine that... 2 hours on the Basketweave stitch. Currently, I am editing the Tony Minieri DVDs, Back to Basics • Level One, and again, the Basketweave stitch was discussed in depth.
So now, I understand the Basketweave stitch. Here are some points to share with you:
- Pay attention to the canvas threads: walk up the Steps and slide down the Poles. It really does matter.
- When beginning a new thread, pay attention to your last stitch and begin the next stitch in the correct sequence. If your begin at the other end, you will get a "striped" look.
- When ending the thread, do not run it back into the worked area. You will get a "hole" in the stitching. Instead, pull your thread forward so the new thread will have coverage on the backside.
- To end the thread, run it either horizontal or vertical along a few stitches; never diagonally.
 |
| Backside of Basketweave Hugs (GS-11) • Gayla Elliott Designs |
Until the next time... Hugs, Robin